
What You Will Need For This Tutorial
Acrylic Paints
We will be using acrylic paints for this tutorial because they dry quickly and can easily be layered on top of each other. You will need white, plus a few colors of your choice for the bubbles. We prefer Liquitex Basics Acrylic Paint Tube Set because it has a wide range of colors at an affordable price.
Canvas or Watercolor Paper
You will also need a canvas or watercolor paper to paint on. We recommend using a canvas because it allows for more texture and depth in the bubbles. However, watercolor paper works just as well and is more affordable. We will use PHOENIX Stretched Watercolor Canvas for this tutorial. Its size is perfect for a beginner painter and it has a strong, firm surface. Also, make sure to use a primer before painting if you are using a canvas.
Brushes
You will need at least two brushes for this tutorial: one small round brush and one larger flat brush. The small round brush will be used to paint the small bubbles, while the flat brush will be used for larger areas and blending. We recommend using Sable Kolinsky Watercolor Brushes because they hold a lot of paint and have great flexibility for blending and creating texture.
How to Paint Bubbles
To begin, mix your paint colors with a little bit of water to create a more fluid consistency. Using a round brush, start by dipping it in the lightest color and dabbing it onto the canvas to create small circles. Then, using a slightly darker shade, add more circles overlapping the first layer. Finally, add the darkest color to create depth and dimension.
Getting Started
Once you have gathered the necessary materials decide what kind of bubbles you want to draw and on what background. Will they be floating in the air or underwater? Will they be colorful or monochromatic? Experiment with different colors and brushstrokes to achieve the desired effect.
Try to let the paint flow freely and avoid overworking the bubbles. It’s also a good idea to lightly mist the paper with water before painting so that the paint will glide on more smoothly.
How to Paint Bubbles on Canvas
1. Prepare Your Canvas
We will use a black canvas for this tutorial, as it will make the bubbles pop out more. It is important to prime your canvas before starting, as this will provide a smooth surface for the paint to adhere to.

2. Choose Your Paint Colors
For this tutorial, we will be using white and blue acrylic paint. You can also use watercolors or even mix in some glitter for a sparkly effect.

3. Create the Bubble Base
Using a large brush, start by applying white paint on the canvas in small circular motions. This will serve as the base for our bubbles. To make the circle even, you can use a compass, stencil, or any round object.

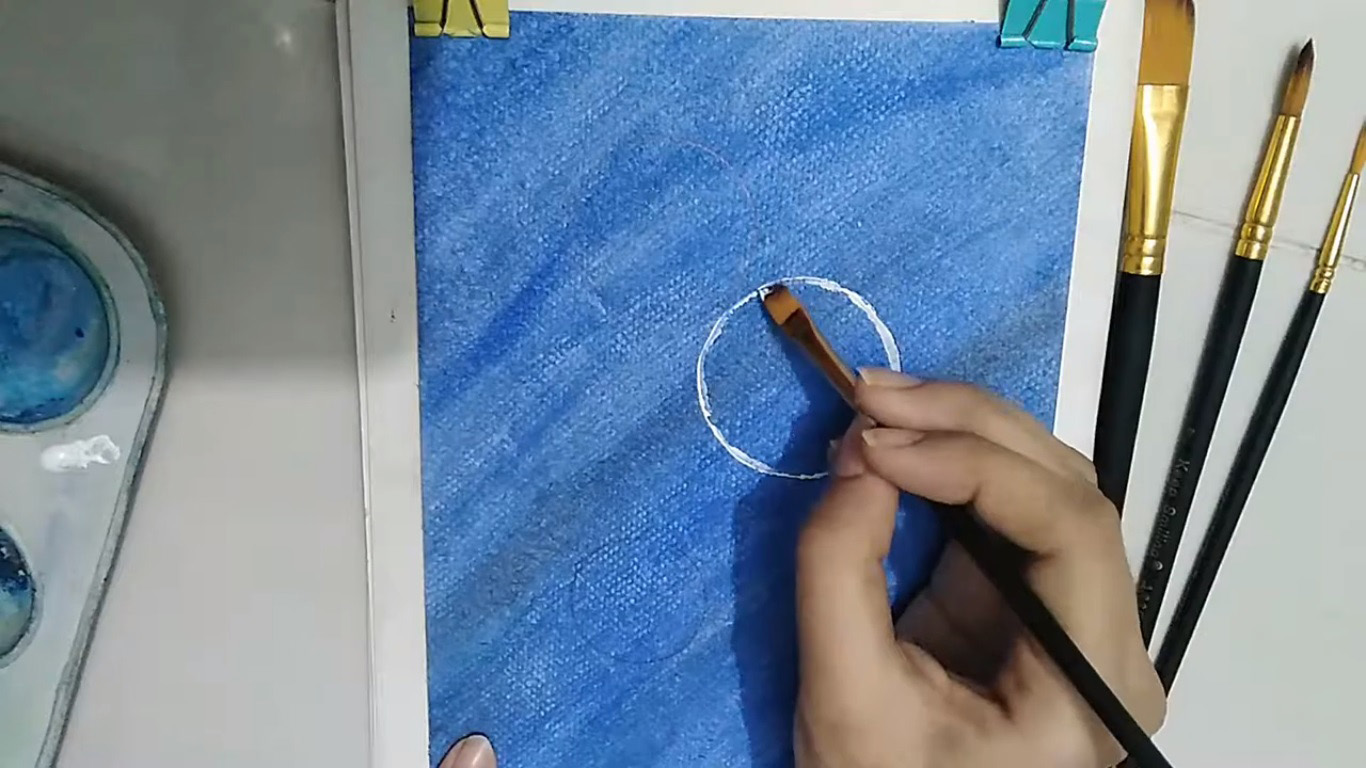
4. Add Red
Next, using a smaller brush, add small lines of red paint on top of the white circle. This will create a more realistic bubble effect as it mimics the reflection of light on a bubble’s surface.

5. Add Blue
Then, using a fine-tip brush or toothpick, add small dots of blue paint around the red lines. This adds depth and dimension to the bubbles.

6. Add Green
To add even more dimension, use a fine-tip brush or toothpick to dot some green paint onto the bubbles. It is important to use a light hand and add the paint sparingly, as too much green can take away from the bubble effect.

7. Add Yellow
Finally, use a fine-tip brush or toothpick to add some yellow lines to the bubbles. This will create a beautiful and vibrant bubble effect.

8. Add White Highlights
To make the bubbles shine, use a fine-tip brush or toothpick to add some small white highlights to the bubbles. This will add a finishing touch and make the bubbles appear shiny and realistic.

9. Finishing Touches and Let Dry
You can add as many layers and colors as desired to achieve your desired bubble effect. Once you are satisfied with the result, let the painting dry before displaying or touching it.

How Do You Make Bubbles in Acrylic Paint
1. Prepare the Paints
To create the bubble effect, mix a small amount of white paint with a tiny drop of your chosen color. This will create a translucent look for the bubbles.

2. Paint the Background First
Using a wide brush, paint the background in your chosen color. This will serve as the background for the bubbles to pop against.

3. Draw a White Circle
Using a small round brush, draw a circle of white paint onto the canvas. This will serve as the base for your bubble. If you want larger bubbles, make bigger circles and for smaller bubbles, make smaller circles.
4. Add More Layers
To create the illusion of depth and transparency, add thin layers of the white and color mixture onto the circles. Allow each layer to dry before adding the next one, building up the bubble effect.

5. Add Highlights
Using a small amount of white paint, add highlights to the bubbles by lightly tapping the brush onto the bubble. This will give it more dimension and make it pop against the background.

6. Paint Two More Bubbles
Then, simply repeat steps three through five to paint more bubbles onto the canvas. If desired, add details like bubbles popping or reflections onto the bubbles using white paint.

People Also Ask
How do you paint a simple bubble?
To paint a simple bubble, start by drawing a circle with white paint onto the canvas. Then, add layers of translucent white and color mixture onto the circle to create the bubble effect. Finally, add highlights with white paint and details if desired.
Can you use watercolor to paint bubbles?
Yes, you can use watercolor paints to paint bubbles. In order to create realistic-looking bubbles, it's important to use a combination of different colors and shades. You'll also need to make sure that the paint is applied in a thin, even layer. If the paint is too thick, the bubbles will look lumpy and unrealistic. It can be fun to experiment with different colors and techniques when painting bubbles. For example, you could try adding a touch of white paint to create shimmering effects or using different colors to create colorful bubble sculptures.
How do you make paint look like bubbles?
There are a few ways to create the illusion of bubbles in a painting. One way is to use a special airbrush that can create very small droplets of paint. Another way is to use some type of stencil and then blow air through the stencil while you're spraying the paint. The most important thing is to get the right mix of colors. You'll need a light color and a dark color, and you'll also need some white paint to create the highlights on the bubbles. Start by mixing some white paint with a dark color to create a light-dark brown shade. Then use this shade to paint the bubble's outline.
How do you paint colored bubbles?
To paint colored bubbles, mix a small amount of white paint with your desired color to create a translucent shade. Then, follow the steps for creating bubbles as described above. You can also add layers of different colored translucent shades to create multicolored bubbles. Experiment with mixing and layering colors to create unique and vibrant bubbles.
Can you paint bubbles on different surfaces?
Yes, you can paint bubbles on any surface that acrylic or watercolor paints can adhere to. This includes canvas, wood, paper, and even objects like ceramics or glass. Just make sure to properly prepare the surface for painting and use the appropriate type of paint for that surface. For example, if painting on glass, you may want to use enamel or glass paint for a more durable finish.
Can bubble painting be done with nail polish?
Yes, bubble painting can be done with nail polish. However, it is important to note that nail polish has a very thick consistency compared to acrylic or watercolor paints. This can make it more difficult to achieve realistic-looking bubbles. It may also be harder to add layers and highlights with nail polish. Experimenting with different techniques, such as using a toothpick or straw to blow the nail polish, can help create more realistic bubbles. It may also be helpful to use a top coat or clear nail polish to smooth out the bubbles and add shine.
Congratulations and Keep It Up!
So there you have it! Our easy guide on how to paint bubbles. With a little practice, anyone can create this beautiful and fun painting effect. Be sure to experiment with different colors and techniques to create unique bubble paintings of your own. We would love to see what you come up with, so please share your work in the comments section below. Thanks for reading and happy painting!