“Learn the rules like a pro,” Picasso said, “so you can break them like an artist.” That works for the basics of art, but I’d argue there’s one rule you shouldn’t break: Always clean your brushes.
In this article, I’m going to tell you step-by-step how to clean artist oil paint brushes. First, I’ll take you through the process of how to clean oil paint brushes with mineral spirits or paint thinner. Then, we can talk about some natural alternatives, and even how to remove paint that’s already dried.

I’ve been an artist for more than 15 years now, and I haven’t always followed my own advice. I was young when I started painting, and I commonly ended a painting with my self and my supplies covered in paint. I guess you could say I really got into my work. Often, I left them out and found myself with dried up, ruined brushes. In my head, painting was supposed to be low on challenge and high on fun. Well, I was right about one thing: it’s high on fun. However, the challenges I’ve faced over the years while learning my craft have been at least equally as high as the fun.
Thankfully, I’ve matured since then (not having my supplies bought for me seemed to do the trick.) I’ve put in a ton of time honing not only my technique but also the best ways (in my opinion) to clean and care for artist oil paint brushes so that they don’t become covered in dry paint.
But what if your brushes are already covered in dry paint? What now? You ruin your brushes-you buy some more. It’s that easy, right? Well, not unless you have a disposable income to buy more (I don’t). Because accidents sometimes still happen, I’ve also spent years trying out different ways to clean and restore oil paint brushes that are covered in dry paint. It took me a lot of trial and error.
I hope this saves you some frustration (and money, too).
What You’ll Need
- Oil covered brushes. Both with wet and with dried-on paint (if you want to follow all sections of the tutorial).
- Gloves. This is optional, but I recommend it to protect sensitive skin.
- Newspaper. Again, this is optional, but I suggest it to cover your working surface.
- Paint thinner
Natural Cleaners
These are a few natural cleaners I’ve used:
- Eco-solve is a natural (and vegan-friendly) alternative to paint thinner. It’s soy-based, doesn’t have a foul odor, and doesn’t give off any dangerous fumes.
- Walnut oil. Another natural (non-solvent) alternative to paint thinner.
- Murphy’s Oil Soap. Murphy’s Oil Soap is a non-toxic soap cleaner that is made into soap from a raw material of pine oil. mom’s and grandma’s have used for generations to clean wood and laminate surfaces in the home. It’s gentle cleaning properties also make it safe to clean oil paint out of brushes.

- Removes color from artists brushes
- Nontoxic and solvent-free
Out of the products I listed, my favorite to use is Walnut oil. I recommend using Walnut oil because it’s been used by artist’s for centuries (this is what Rembrandt used for his brushes during the Renaissance), and because you not only can use it to clean your brushes, but also to thin your paint and to slow drying. And it’s non-yellowing and streaks less than other oil-based solvent alternatives.
What Else
- Vinegar. I use the white vinegar in the big jugs from the grocery store.
- A small jar with a screw on lid (for the vinegar). A mason jar is what I use. You’ll need the thin metal lid for what you’ll be doing with it.
- A drill. This is to safely put a hole in the lid of your jar.
- A brush cleaning tank. You can find these in art supply stores or online. I love using the Silicoil Brush Cleaning Tank.
- Dish Soap. Any brand will do, but I save money here by using a one-dollar store brand.
- Paper towels. I splurge for Viva paper towels for my brushes because they’re thick and soft. Paintbrushes are an artist’s treasure, so spending a little extra for gentle paper towels is worth it to me.
- Plastic cling wrap (optional). I use a cheap, dollar box of this as well.
Okay, now that you’ve got your materials together, it’s time to clean some brushes. Are you ready? Let’s do this!
The Cleaning Process
1. Protect Your Work Surface and Your Hands
As with any project, the first thing you’re going to want to do is to find the proper working space. For this, you should go with a solid, flat surface with room to work.
Now that you’ve found your space, go ahead and get out the newspaper I had you gather up. What you’re going to do is separate the newspaper into sheets and spread it out over your workspace. Make sure you completely cover the surface of the counter or table you’re working on (especially if it’s the furniture you don’t want to ruin).
Next, put on your gloves. Again, this is an option. Personally, though, I have developed severely sensitive skin over the years, so I always wear gloves when I use solvents like paint thinner.
2. Cleaning Time
This is the part where the magic starts to happen, but first, you need to fill the cleaning tank. It’s best to pour in just enough paint mineral spirits or paint thinner to cover the coils and rise just above them. This prevents splashing and saves your paint thinner.
Now, go ahead and dip your brush into the tank and gently swish it over the coils. Only use gentle pressure to swish it across the coils. This helps work the wet paint out of your bristles (Please don’t scrub hard. Being too rough can mess up your brushes.)
Next, shake (or tap) excess solvent into the tank (to prevent dripping) and then squeeze remaining paint from your brush with paper towels. To do this, wrap your brush in the paper towel and gently pinch it at the base of the bristles, pulling the brush through the paper towel. This blots / wipes the extra solvent and paint from the bristles of your paintbrush. Check out this video:
Repeat steps 1 and 2 till the brush is clean and leaves very little residue of paint. You don’t have to get every hint of color out of your brush. Use your judgment here. Getting most of the paint out will be fine.

- For wiping away paint from brush hairs
- The aluminum coil in the base
3. Restore the Bristles to a Point
Once you’ve cleaned the paint out, it’s important to condition and restore the point to your bristles. Some people will tell you to dip their brush in a little soap or milk to restore the tip and condition the bristles for storage. I don’t recommend milk. I feel like it may sour and smell. Instead, I use a very small amount of walnut oil.
Next, you’ll want to gently smooth your bristles to their original point/ shape and carefully wrap the brush in cling wrap. Although the cling wrap is optional, I highly suggest it protect and maintain the condition and shape of the bristles. Now, with the bristles facing up, you can store your brush till next time you’re ready to paint.
Mineral Spirits or Paint Thinner?
Fun Fact: Paint thinner is simply a cheaper version of mineral oil with a stronger odor. It’s less refined than mineral oil, so it costs less.
How to Clean Oil Paint Brushes Without Paint Thinner
If you’re like a lot of people these days, you’re concerned about our environment. You may be concerned about the pollutants and fumes that go along with using solvents like mineral oil and paint thinner. To help give you an alternative, and because I’ve switched to natural cleaning myself (it helps the earth and my sensitive hands), I’m going to tell you how to clean oil paint brushes without paint thinner.
There are quite a few options out there for a more natural approach, so I picked just a handful of natural cleaners for you to pick from today. Once you’ve chosen (from Eco-Solve, Walnut oil, or Murphy’s Oil Soap), you can follow step one with your choice in place of the more harmful cleaners.
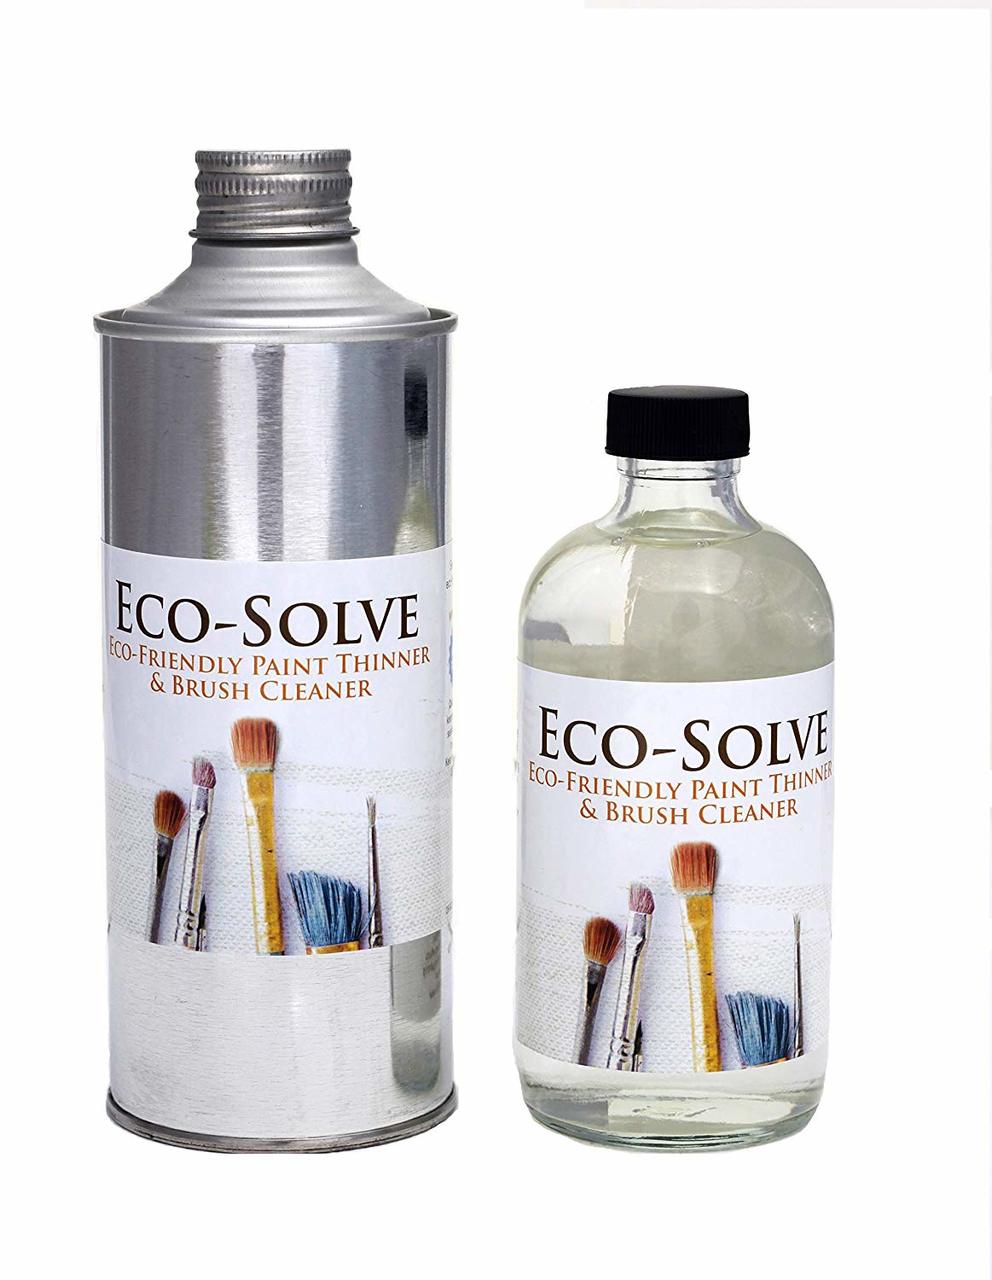 Eco-Solve
- 100% Non-toxic & natural oil paint thinner and brush cleaner
- Soy-based and vegan, cruelty-free.
Before you restore your bristles, though, you’ll want to gently wash the cleaner out of your brush with soap and water. You can use any kind of soap, but I like to use store brand dish soap and gently wash the bristles in my kitchen sink. It works great because it cuts through oil and grease.
Next, with the method from earlier, use another piece of paper towel to get excess water from the bristles.
After you’ve washed the cleaner from your brush and gotten it mostly dry, continue on to restore the point and condition the bristles.
I love this video from YouTube by Natural Earth Paint
How to clean dried oil paint brushes
So, you forgot to clean your brushes. Now they’re caked with dried oil paint and you’re pretty sure you’re going to have to throw them away and head to your local art supply shop.
Don’t throw out those brushes! In this section, I’m going to tell you how to clean the crusty, dried-up paint off of those bristles and prep your brushes to paint again. I learned this method on YouTube from a video by Painting Course. I’ll put the video under the instructions so you can reference it (they didn’t use a drill, but that’s what works for me). Out of all the ways I’ve tried to revive my brushes, this way works the best for me.
This is where you get out the vinegar, the jar, and the drill. Are you ready for some fun?
Removal process
Here’s how to remove that crusty paint:
- Drill a hole in the lid of the jar. To do this, I recommend drilling the hole with the lid firmly screwed onto the jar. I’ve done it with the lid off too. Trust me, it’s easier to put the lid on first. You’ll want to use a drill bit that’s roughly the same size as your brush handle. You’re going to use this to hold your brush steady in the jar in a moment.
- Remove the lid and fill the jar with vinegar.
- Poke your brush handle through the lid. Do this from the underside.
- Screw the lid back onto the jar. This should suspend the bristles in the vinegar without bending them and causing harm to the structure of your brush.
- Let the bristles soak in the vinegar for 24 hours.
- Pull the softened paint from bristles using paper towels.
Once you’ve followed these steps, your brush should be ready to use the instructions from our previous section, THE CLEANING PROCESS.
Voila! Your brushes are ready to paint your next masterpiece.
Check out the video of the process from Painting Course:
Final words
Properly cleaning and storing your artist’s oil paint brushes is quite possibly the most important part of the painting process. It keeps you able to continue to create and to do so without constantly putting out more money for brushes (which, as artists, can sometimes be tough).
Today I shared with you how to clean your oil paint brushes, and we also touched on some natural alternatives to the more pollutive solvents often used for the process. We also covered how to clean and restore a brush with dried oil-paint on it.
Although I’ve not always been good about brush care, I’m much better about it now. I hope this tutorial was helpful, and that you learned something today you’ll use for years to come.
Personally, my clean brushes have me wanting to start another painting. How about you? Do clean brushes make you want to pull the paint back out?
Did you follow along with me?
Which cleaner did you choose and why?
Was this tutorial helpful?
Let us know in the comments and give us a share if you enjoyed it.
Hello, and thank you for your informative post.
I disagree that you should store brushes with the bristles up after cleaning.
If there is ANY fluid medium or paint still in the bristles it will be directed
to the ferrule, which is exactly where you don’t want it to go.
Carry on…